Shall we make some pumpinks to decorate the house for Halloween?


To make the medium and small pumpkins we need:
1.-Fabrics,
2.-Felt in brown and in green shades,
3.-Wool and embroidery threads and
4.- Polyester filling.
The patterns of the pieces are these:

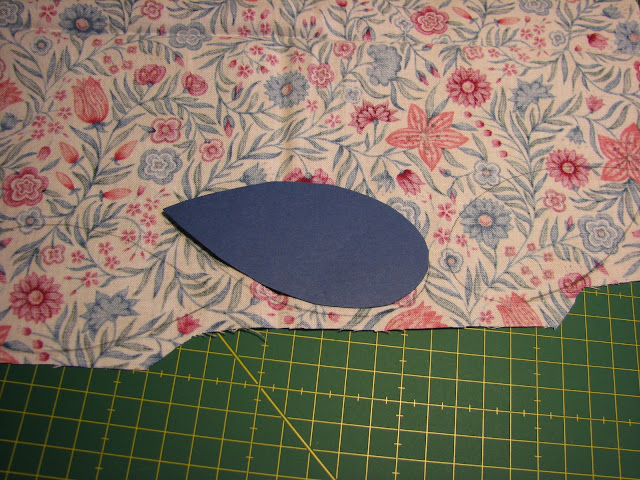
First copy the pumpkins pieces patterns on the fabrics, five times the small one and six times the big one.

After cutting the pieces join them.


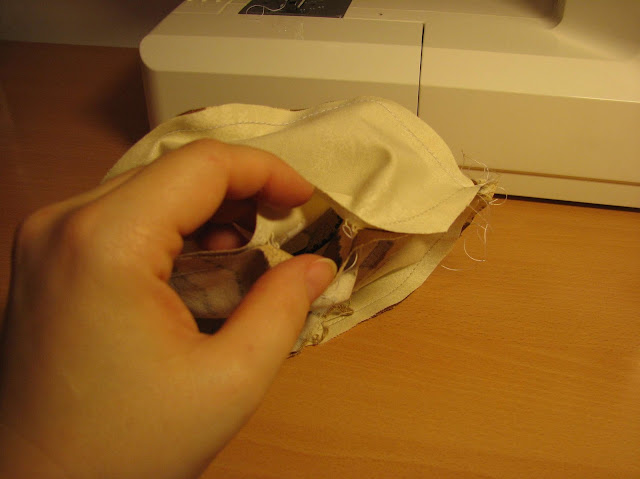
Do not close the last seam completely to be able to turn the inside out. I prefer to leave the hole in the centre part of the seam so the corners are well sewed.


Then fill the pumpkin with the filling and close the seam up with hidden stitch. Then, with wool and a thick needle we shape the pumpkin, passing the wool through the pumpkin making the wedges.


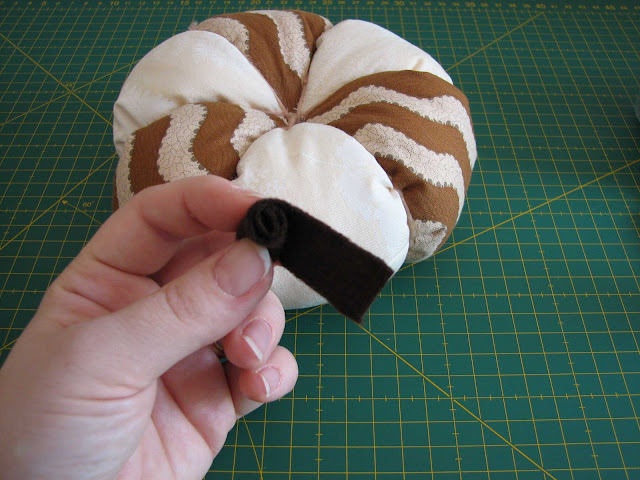
Finalmente, para hacer el rabo se corta una tira de fieltro marrón, se enrolla y se cose para que no se abra. Después se cose a la calabaza, al igual que las hojas, que se recortan con la forma de las plantillas adormándolas con punto de cadeneta.
Finally, to make the stalk cut a strip of brown felt, roll it up and stitch it so it doesn’t open. Then stitch it to the pumpkin, as the leaves, which are cut as the templates decorating them with loop-stitch.


I have made the pumpkin following Thompson Family-Life’s tutorial, which is very easy. First fold the fabric in half and cut a square. I made it 12.60” side.

Después se hilvanan dos lados, comenzando por el contrario al que hemos doblado la tela, y se frunce el hilo del hilván del último lado cosido, asegurándolo para que no se deshaga.
Then baste two of its sides, starting from the opposite side we’ve folded, and gather the thread of last stitched side, fastening it so it doesn’t untie.

Se da la vuelta a la tela y se rellena con floca. Entonces se hilvana todo el borde y se frunce para cerrarlo.
Later, turn the fabric inside out and fill it with the polyester filling. Then baste the whole edge and gather to close it.


Ya solo queda darle la forma y añadir el rabo y las hojas de la misma forma que he explicado antes. ¡Listas!
There’s only letf to shape it and to add the stalk and the leaves as I have explained before. They’re ready!


6 respuestas
Son preciosas, enhorabuena por el tutorial, ha quedado muy claro, a ver si me animo a hacer alguna.
Anímate, quedan realmente bonitas y es poco trabajo.
Son una monada, me gustaria encontrar terciopelo blanco o algo similar para hacerlas, y adornar mi casa en navidad, crees q quedarian bien???
Quedarían muy bien, muy elegantes con la textura del terciopelo y el color blanco.Y más ligeras que si utilizaras un tono oscuro de terciopelo. ¡Muy buena idea!
Están preciosas tus calabazas. Pero ¿podrías ayudarme? He intentado hacerlas sin éxito, sucede que me cuesta trabajo unirlas al momento de coser pues lo estoy haciendo a mano por que no tengo máquina. Espero puedas asesorarme por que quisiera adornar mi casa con ellas para este otoño. Gracias. Saludos
@Ver�nica Hola, Verónica. Tanto a máquina como a mano, para que te queden bien las calabazas debes hacer cortes pequeños en el borde de la tela en las piezas que van en curva, sin llegar a la línea de costura.
Supongo que ese será el problema, pero si quieres concretarme más escríbeme a info@deshilachado.com.